
Pattern Pointers: An Adobe Illustrator Tutorial
By: Greysen Walsh
Adobe Illustrator has quite a lot of hidden gems, such as the Pattern Tool. Use this tutorial to create patterns quickly and efficiently using these simple steps!
Pattern-making and surface design is a very wide and varied field of illustration and design. This tutorial touches on the steps to create your own patterns in Adobe Illustrator, but leaves out the interesting vocabulary and history that goes into patterns. To those who find this tutorial interesting and want to learn more, look into repeat pattern resources at your disposal! Patterning can be used in many fields, so finding out what you want to use yours for is a wonderful way to research.
Now that we’ve touched on the purpose of this tutorial, let’s get into it!
Step 1: Draw Your Items
This step is specifically if you are using Adobe Photoshop. If you are using Adobe Illustrator to make your pattern assets, feel free to skip this step.
Be sure to format your drawings so that all its layers are collapsed and each individual object is on its own layer. We will be using the Libraries feature for the sake of ease, but feel free to import and export your drawings to Illustrator as .pngs. If your object is not transparent, it will bring up problems later do
Step 2: Using Adobe Libraries
For those in Photoshop, go to Window>Libraries and pull your items into the Library tab. Similar to the Adobe Cloud, the Library allows for cross-platform use in all Adobe Products with type, color palettes, layers, and more. Once again, be sure that each individual asset is separated on their own layer and flattened.

Step 3: Entering Illustrator
Open Adobe Illustrator and decide the size of your file. Keep in mind that your pattern will stay at one size across all canvas sizes. So if you make a 10 in by 10 in pattern, it will not change on a much larger or smaller canvas. The page format does not matter in this case, so use whatever ratio is com
Step 4: The Pattern Tool
The pattern tool is a bit hidden in Adobe Illustrator. Go to Option>Pattern>Make. You will see a blue square appear and a new window pop up. This is where you’ll do your pattern editing.

Within the window, there will be a section with dimensions. Be sure to size your pattern to what you think would be best for it. I size
Step 5: Bring in the Assets!
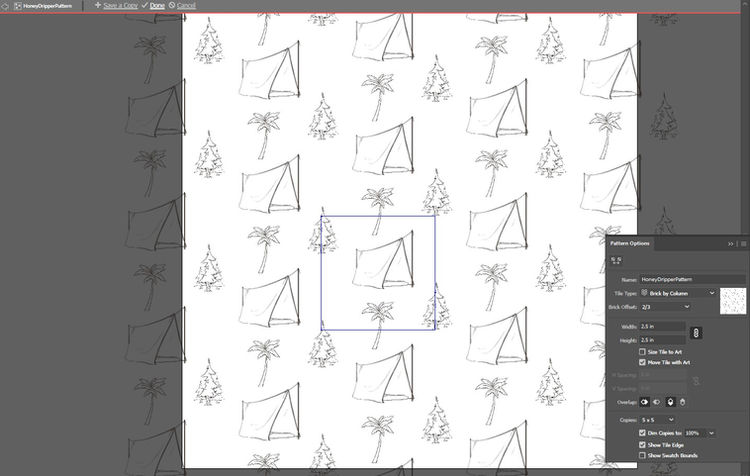
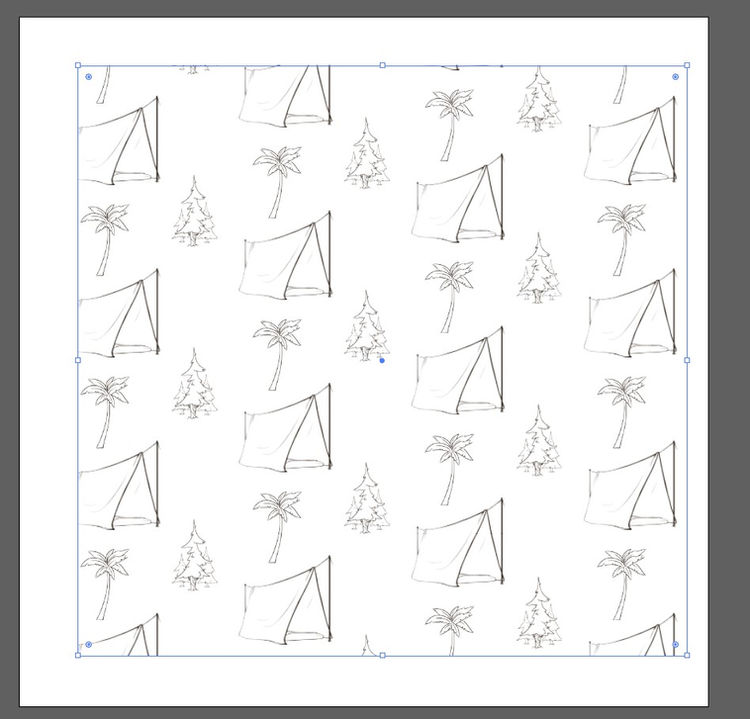
Just like in Photoshop, go to Window>Library and open the Library window. Pull your assets in one at a time and watch as they duplicate outside the blue square. Be careful, though, if you place the object anywhere outside the square, it will no longer repeat, so be sure that you are within the correct area.

Move around and edit as you need! If you look in the Pattern Options window, there are two drop down menus. The first is the Tile Type from which you can choose different shapes and horizontal and vertical variations. I used the Brick by Column option.
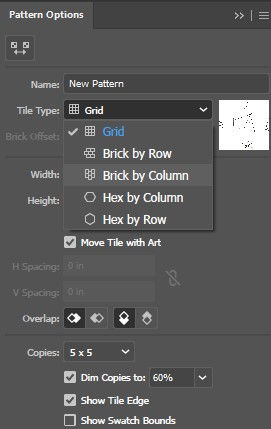
Below the Tile Types, you’ll find the Brick Offset option. This allows you to vary the pattern up and down or left and right by measurement. I chose a ⅔ offset option.
Play around with different offsets and tile types to see what fits your patterns best. Variety makes things interesting!
Step 6: Saving Your Pattern
Before you click Done or Save a Copy, your files need to be embedded into Illustrator. To do this, select your assets and select Linked File next to Opacity at the top left corner of Illustrator. Click on Linked File then select the three lined button to the top right of the window. From there, select Embed Image(s).
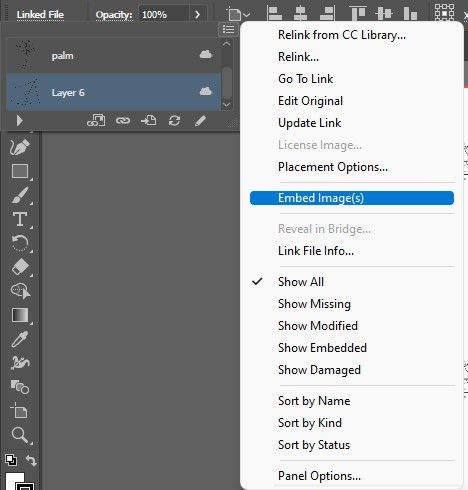
When you do that, a window will pop up titled Photoshop Import Options. Select OK for each asset. From there, your files should be fully embedded and ready to be saved as a full pattern swatch! Select Done or Save a Copy at the top of the window!

Step 7: Editing Your Pattern
As the final step in this process, you want to make sure that your work fully saved. If you look in your Swatches Window, double check that your pattern is there. If it is, celebrate! If it is not, go through this process again and try to see what you missed. It could be that you accidentally closed out of pattern creation process.
So now you’ve made your pattern. What if you aren’t happy with it? Luckily, there are options for that. Within your Swatches Window, select your pattern. In the row of buttons at the bottom of the window, choose the one labeled Edit Pattern that looks like notebook paper. This will lead you back to the Pattern tool that we’ve used before. You can rename your pattern, adjust the assets, or change the size, offset, and tile type. You can also select Save A Copy if you want to make variations off the original pattern.

Congratulations! You made it to the end of the tutorial! The Pattern tool in Illustrator is a very simple and effective way to show your spot illustrations and eye for design. Be sure to keep playing around with this tool if you are interested in surface design. Good luck creating!


A Beginner’s Guide to Comic Cons
